 how-to
How to Care for Real Fur Mittens: 2026 Guide
Table of Contents
- Why Real Fur Mittens Need a Different Care Routine
- Everyday Care and Maintenance for Fur Mittens
- How to Prevent Fur Shedding
- How to Dry Wet Fur Mittens
- How to Store Fur Mittens in Summer
- DIY Repair for Common Wear and Tear
- When to Call a Professional Fur Cleaner
- Frequently Asked Questions
Last Updated: October 4, 2026
Why Real Fur Mittens Need a Different Care Routine
Real fur mittens are not a single material. They are two materials stitched into one item: a tanned leather palm and a fur exterior or lining. Each surface reacts to water, heat, and friction in opposite ways, which is why a single cleaning method rarely works for the whole mitten.
That split is the source of most damage we see. Water that softens the fur can stiffen the leather. Heat that dries the leather can crack the hide and dull the pile. Care for fur mittens correctly and a good pair lasts for many winters.
The routine below follows the same logic.
Here is the core rule before anything else: treat the leather and the fur as separate jobs, even when they sit two inches apart.
Leather Palm vs. Fur Exterior: Two Surfaces, Two Approaches
The leather backing is a tanned hide. It holds shape, blocks wind, and gives you grip. It hates heat and prolonged soaking.
The fur is a dense undercoat with longer guard hairs. It sheds dirt, repels light moisture, and needs airflow to stay lofty. It hates crushing, matting, and repeated rubbing.
So the approach splits cleanly:
- Leather: wipe, condition sparingly, dry slowly, never soak
- Fur: brush, air out, spot clean, never wet the base
- Seams and cuffs: the weak point on both, check them each season
Get this distinction right and the rest of the routine falls into place.
Everyday Care and Maintenance for Fur Mittens
Daily care is mostly about what you do not do. Shake off snow before it melts. Hang the mittens to air out after each wear rather than stuffing them in a pocket. Wipe salt and grime off the leather with a barely damp cloth, then let them dry at room temperature.
A few habits that keep mittens in shape:
- Rotate between two pairs so each gets a rest day
- Never set them on a radiator, vent, or dashboard
- Keep them out of direct sun for long stretches
- Check the leather for stiffness before the season starts
Brushing and Grooming Techniques
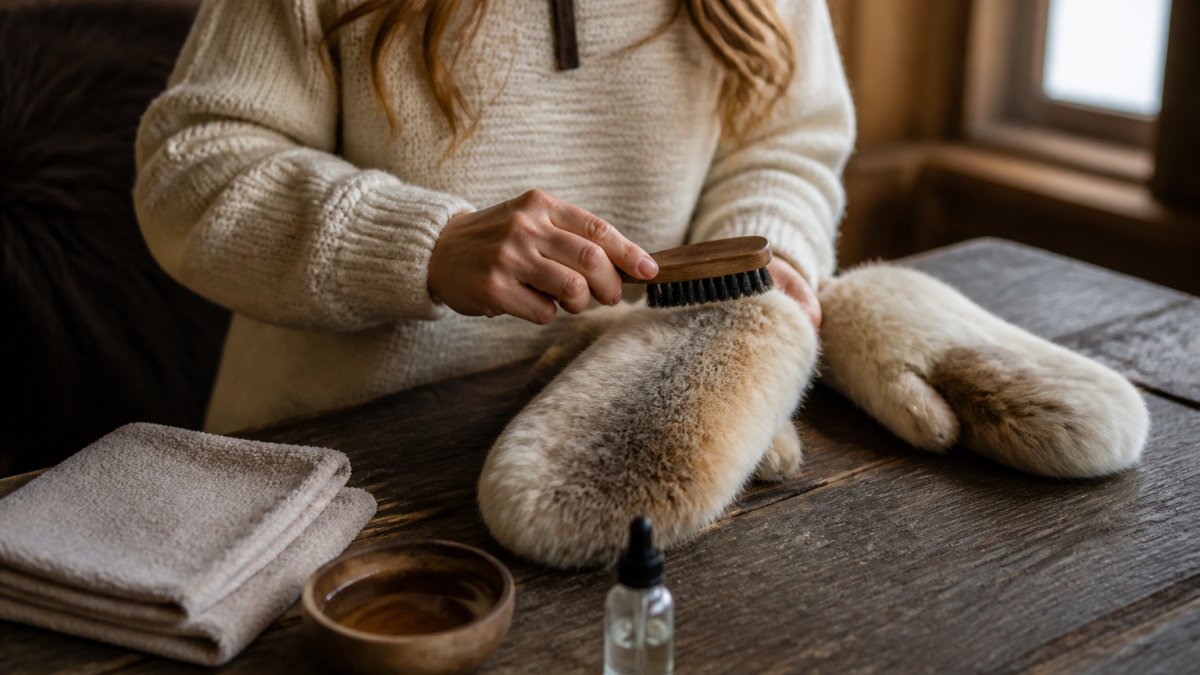
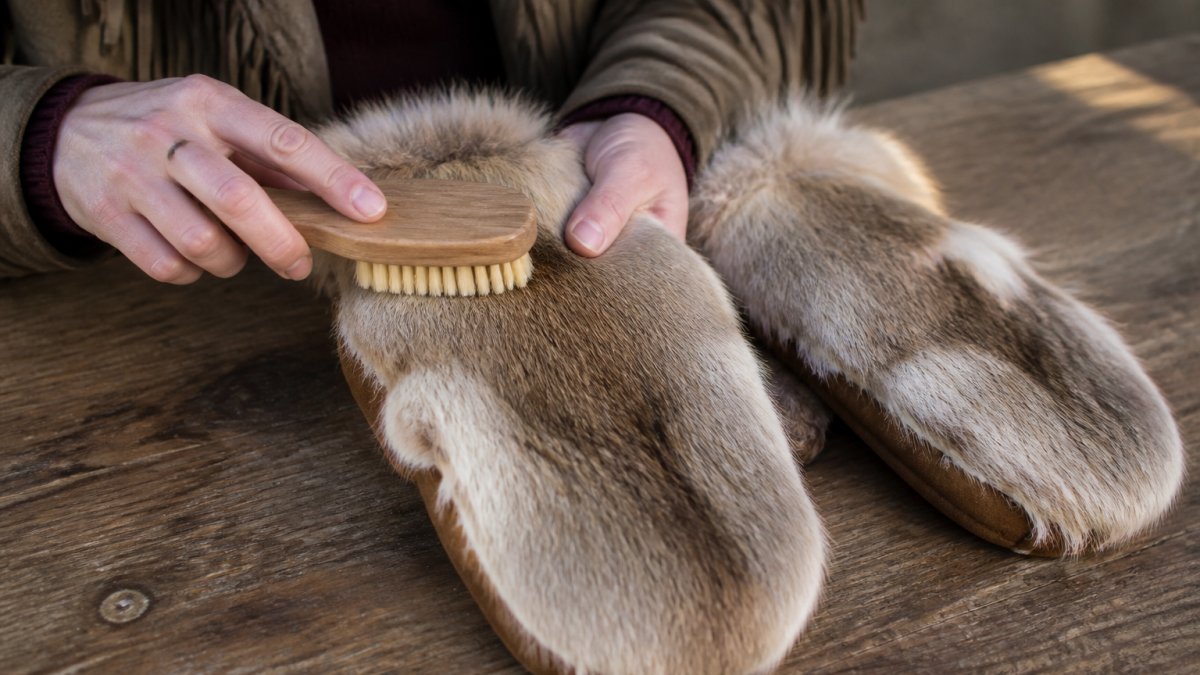
Brush fur mittens with a soft bristle brush in the direction the hair grows. Short strokes, light pressure, once a week during heavy use. This lifts dust, separates the pile, and stops matting before it sets.
What most guides miss: brushing too hard does more harm than not brushing at all. You are separating hairs, not scrubbing a rug. A few passes is enough.
Safe Cleaning Agents for Home Use
Stick to mild and pH-neutral. A drop of gentle soap in cool water, applied with a cloth to the leather only, handles most marks. For fur, plain cool water on a cloth is usually enough.
Avoid these entirely:
- Harsh detergents and bleach
- Solvent-based cleaners on the fur
- Fabric softener, which coats and weighs down the hairs
How to Prevent Fur Shedding
Shedding is not a single problem. It has three distinct causes, and each one demands a different response. Most guides treat shedding as one issue, which is why their advice rarely works.
Cause 1: Friction at high-wear zones. On fur-exterior mittens, the palm side rubs against everything you grip, car keys, sled ropes, door handles, ski poles. On fur-lined mittens, the friction happens inside, where your hand slides against the fur with every flex. The result is the same: broken guard hairs and loose undercoat collecting at the seams and thumb crotch.
Cause 2: Dry hide. When the leather backing loses its natural oils, the hair follicles loosen and hairs release in clumps rather than singly. You will notice this as bald patches near the cuff or along the seam line, not as even thinning.
Cause 3: Storage compression. Mittens stuffed into a tight bin or crushed under other winter gear develop flat, matted areas where hairs have been bent past recovery. When you pull them out in fall, those areas shed heavily because the hairs were already broken at the base.
To address each cause:
- For friction shedding: Brush weekly with a soft bristle brush, but focus on the palm side of fur-exterior mittens and the interior of fur-lined mittens. Use short strokes in the direction of hair growth. This removes loose hairs before they migrate to the seams.
- For dry-hide shedding: Condition the leather sparingly once per season. A light application of a leather conditioner made for shearling or fur-on-hide products keeps the base supple. Too much oil darkens the hide and can seep into the fur base, so apply with a cloth, not directly.
- For storage shedding: Store mittens flat or loosely rolled in a breathable garment bag. Never compress them under boots or heavy coats. If you stack them, place them fur-side up so the pile is not crushed.
A well-tanned hide holds its hairs far better than a cheap one. But even a good hide will shed if you ignore the three causes above.
For more on shedding and storage, see our guide on how to prevent fur shedding.
How to Dry Wet Fur Mittens
Drying is where most pairs get ruined. The fix is simple: cold air, airflow, and patience.
- Shake off loose snow and water immediately
- Blot the fur with a clean towel, pressing rather than rubbing
- Stuff the mitten lightly with crumpled paper to hold its shape
- Lay flat in a cool, well-ventilated room
- Let it air dry fully, which can take a day or more
Never use a hair dryer, radiator, or oven. Heat shrinks the leather and makes the hairs brittle. If the mittens got soaked through, dry them slowly and check the leather for stiffness afterward.
How to Store Fur Mittens in Summer
Warm months are when fur gets attacked by moths and moisture. Store mittens clean, dry, and protected.
- Clean before storage, since food and sweat stains attract pests
- Place in a breathable garment bag, never a sealed plastic one
- Add cedar or a moth protection sachet nearby
- Keep in a cool, dark, dry spot with steady humidity
- Check once mid-season for any sign of pests or damp
For a full seasonal walkthrough, see our notes on how to store fur mittens in summer.
DIY Repair for Common Wear and Tear
Not all repairs are equal. On fur mittens, the right fix depends on whether the damage is on the fur exterior, the leather palm, or the lining, and whether your mittens are fur-lined or fur-exterior. A repair that works on a leather palm can ruin a fur surface, and a fix for a fur exterior can crush the pile on a fur lining.
Fur-exterior mittens: The fur is the outer layer. Damage shows as matting, bald spots, or tears where the fur meets the leather palm. Repairs here must protect the pile.
Fur-lined mittens: The fur is inside. Damage shows as flattened lining, shedding inside the cuff, or leather cracking on the exterior. Repairs here must preserve the interior loft without adding bulk.
Here is how to handle the most common problems:
| Problem | Quick Fix | Watch Out For |
|---|---|---|
| Loose seam on fur exterior | Hand-stitch with matching thread, catching only the leather backing | Do not pull fur into the stitch, it will create a permanent tangle |
| Loose seam on fur lining | Turn the mitten inside out and stitch with a curved needle | Do not stitch through the fur base; catch only the seam allowance |
| Small tear in leather palm | Leather glue or a thin leather patch | Test on a hidden spot first; some glues stiffen the hide |
| Matting at cuff (fur exterior) | Gentle brush, then comb with a wide-tooth comb | Stop if hairs pull out, you are separating, not pulling |
| Flattened lining (fur-lined) | Light mist with cool water, then air dry and brush | Never soak the lining; moisture can stiffen the leather |
| Dry, stiff leather | Light conditioning with a fur-safe leather conditioner | Too much oil darkens the hide and can seep into fur |
| Missing button or loop | Replace with matching hardware | Match the original finish to avoid scratching the fur |
When to stop and call a professional:
- The tear is larger than a thumbnail
- The fur is missing in a patch larger than a quarter
- The leather has cracked through or feels brittle
- You see pest damage (small holes, powdery residue)
- The mittens are heirloom or high-value
A bad repair on fur is far harder to undo than to prevent. If you are unsure, stop. A professional fur cleaner can assess the damage and recommend a fix that preserves both the leather and the fur.
For anything larger than a thumbnail, stop and call a professional. A bad repair on fur is far harder to undo than to prevent.
When to Call a Professional Fur Cleaner
Some jobs are not home jobs. Call a professional fur cleaner when:
- The mittens are soaked through and smell musty
- Mats are tight against the leather and will not lift
- The leather has cracked, torn, or hardened
- You see pest damage or bald patches
- The mittens are heirloom or high-value
Professionals use cold storage and controlled dry cleaning methods that home care cannot match. It costs more than a home fix, but it protects the natural oils and fiber integrity that keep fur soft for years.
For background on how fur is properly cleaned and preserved, the U.S. Fish and Wildlife Service publishes guidance on legal and ethical fur handling.
Frequently Asked Questions
How do you clean real fur mittens at home?
Spot clean with a damp cloth and mild soap, working in the direction of the fur. Avoid soaking the leather palm. For deeper cleaning, sprinkle cornmeal or bran over the fur, massage gently, then brush it out. Always air dry away from direct heat. If the mittens are heavily soiled or the leather is stiff, take them to a professional fur cleaner.
Can you get real fur mittens wet?
Light rain or snow is fine, but soaking real fur mittens can damage the leather backing and cause matting. If they get wet, shake off excess moisture and hang them to air dry at room temperature. Never use a hair dryer or place them near a radiator, because heat dries out natural oils and makes the fur brittle.
How do you store real fur mittens during the off-season?
Clean them first, then place them in a breathable garment bag, not plastic. Store in a cool, dark, dry place with cedar blocks or moth protection. Avoid attics and damp basements. Cold storage at around 50°F (10°C) with low humidity is ideal. Check them once a season for signs of moths or moisture.
How do you prevent fur shedding in mittens?
Shedding usually comes from dry fibers or a damaged hide. Brush regularly with a bristle brush, condition the leather backing once a year, and keep the mittens away from heat sources. Store them properly in the off-season. If shedding is heavy and persistent, a professional cleaner can assess whether the hide needs conditioning or repair.
Real fur mittens reward a little attention. Shake them out, brush them gently, dry them cold and slow, and store them right, and they will outlast anything synthetic. At Campbell Fine Furs, we handcraft every mitten with tanned natural hides and artisanal finishing, so the care routine actually holds up. Browse our fur accessories and Western-inspired goods, and find a pair built to last. [View All Products]